
Basil Bombs / Bazsalikom Bomba
Description
It is October, and fall has been especially warm this year. I finally harvested my basil! Every spring, I buy a small container of basil from the grocery aisle and chop it up at home. Six stems usually yield 10–12 plants pretty quickly, which is far more cost-effective than buying individual plants at the garden center. If you plant it into containers, close to each other, then tend to stay smaller but still yield enough for preserving for the winter. If you plant them in your garden, 3-4 plants can grow rather large. Something to remember as they grow: Always pinch the top where flowers are starting to grow, never let it to go to flowering because it ages the plant very fast. Pinching the flowers keep the plant young and the stems less woody. Plant it in a sunny location and keep it watered well. Don’t let the plant freeze. It may survive a light freeze of 32F but leaves will start to yellow and fall.
I cut each stem into two or three pieces, remove the bottom leaves and place them in a glass of water. In about a week, they develop roots and are ready to be planted. I have a small roll around planter on my porch sheltered from the deer. Plants are planted only a few inches apart. From that one small pot of basil, I had this much by fall — and I cut it back a lot over the summer for salads and stews! (Remember to always pinch back the developing flowers to keep the stems from getting woody. Once it gets woody and flowers there is less energy going into leaf production/quality).
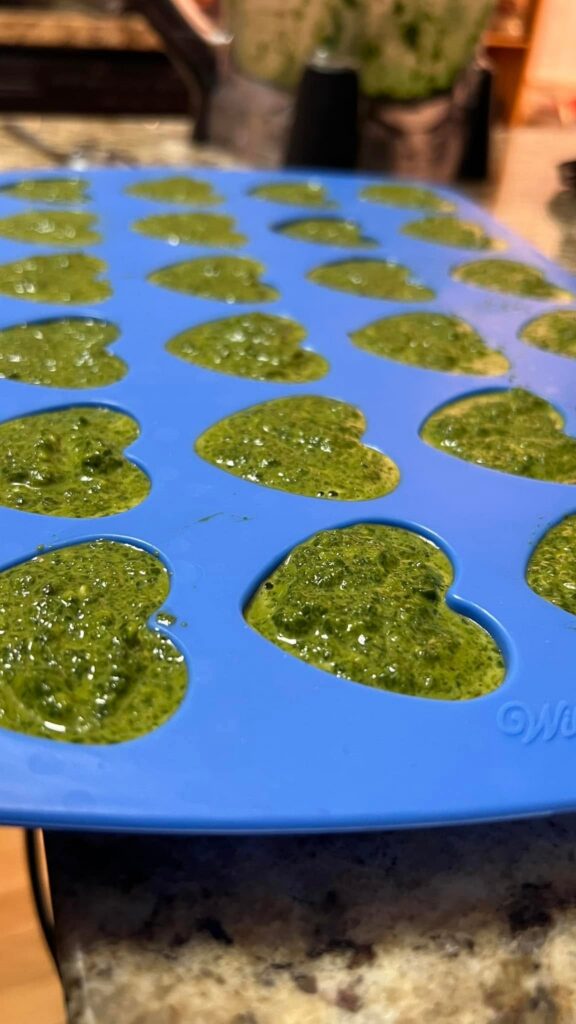
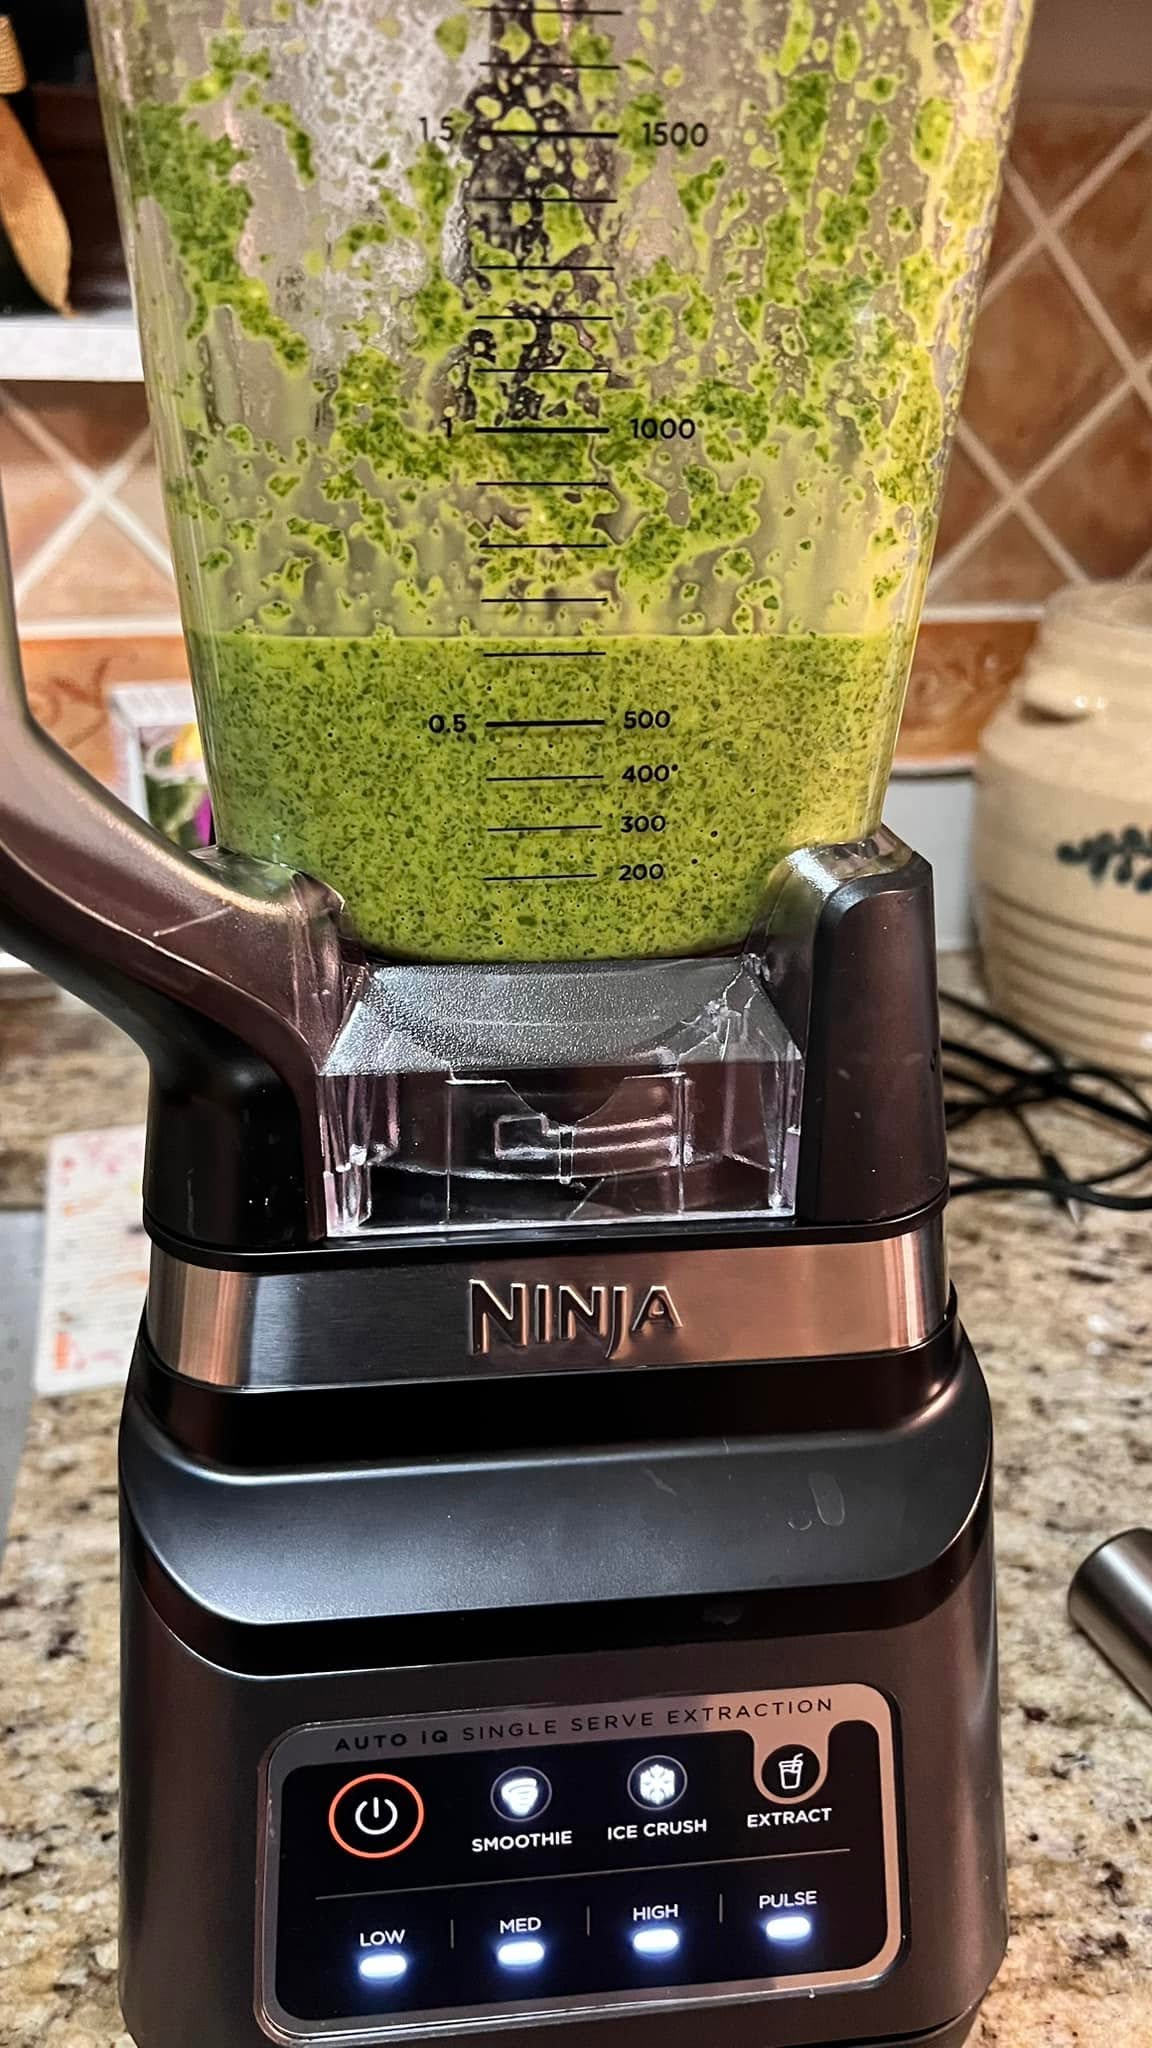
Once the time comes, I cut the stems down, pick off all the leaves, and wash them. I make sure there’s no excess water on the leaves, though the preservation method I use doesn’t require them to be completely dry. Working in batches, I add the leaves to a food processor with a little salt (optional), a few cloves of garlic (optional), and olive oil. I purée the mixture and spoon it into silicone molds. After freezing for a day, I pop the cubes out and store them in a freezer bag. Makes about 14-18 cubes.
The small pastilles last all winter long – unless you make a lot of pesto – and make adding fresh basil flavor to meals quick and easy.

Basil Bombs / Bazsalikom Bomba
Description
It is October, and fall has been especially warm this year. I finally harvested my basil! Every spring, I buy a small container of basil from the grocery aisle and chop it up at home. Six stems usually yield 10–12 plants pretty quickly, which is far more cost-effective than buying individual plants at the garden center. If you plant it into containers, close to each other, then tend to stay smaller but still yield enough for preserving for the winter. If you plant them in your garden, 3-4 plants can grow rather large. Something to remember as they grow: Always pinch the top where flowers are starting to grow, never let it to go to flowering because it ages the plant very fast. Pinching the flowers keep the plant young and the stems less woody. Plant it in a sunny location and keep it watered well.
I cut each stem into two or three pieces, remove the bottom leaves and place them in a glass of water. In about a week, they develop roots and are ready to be planted. I have a small roll around planter on my porch sheltered from the deer. Plants are planted only a few inches apart. From that one small pot of basil, I had this much by fall — and I cut it back a lot over the summer for salads and stews! (Remember to always pinch back the developing flowers to keep the stems from getting woody. Once it gets woody and flowers there is less energy going into leaf production/quality).
Once the time comes, I cut the stems down, pick off all the leaves, and wash them. I make sure there’s no excess water on the leaves, though the preservation method I use doesn’t require them to be completely dry. Working in batches, I add the leaves to a food processor with a little salt (optional), a few cloves of garlic (optional), and olive oil. I purée the mixture and spoon it into silicone molds. After freezing for a day, I pop the cubes out and store them in a freezer bag. Makes about 14-18 cubes.
The small pastilles last all winter long - unless you make a lot of pesto - and make adding fresh basil flavor to meals quick and easy.
Ingredients
Instructions
-
Harvest the Basil
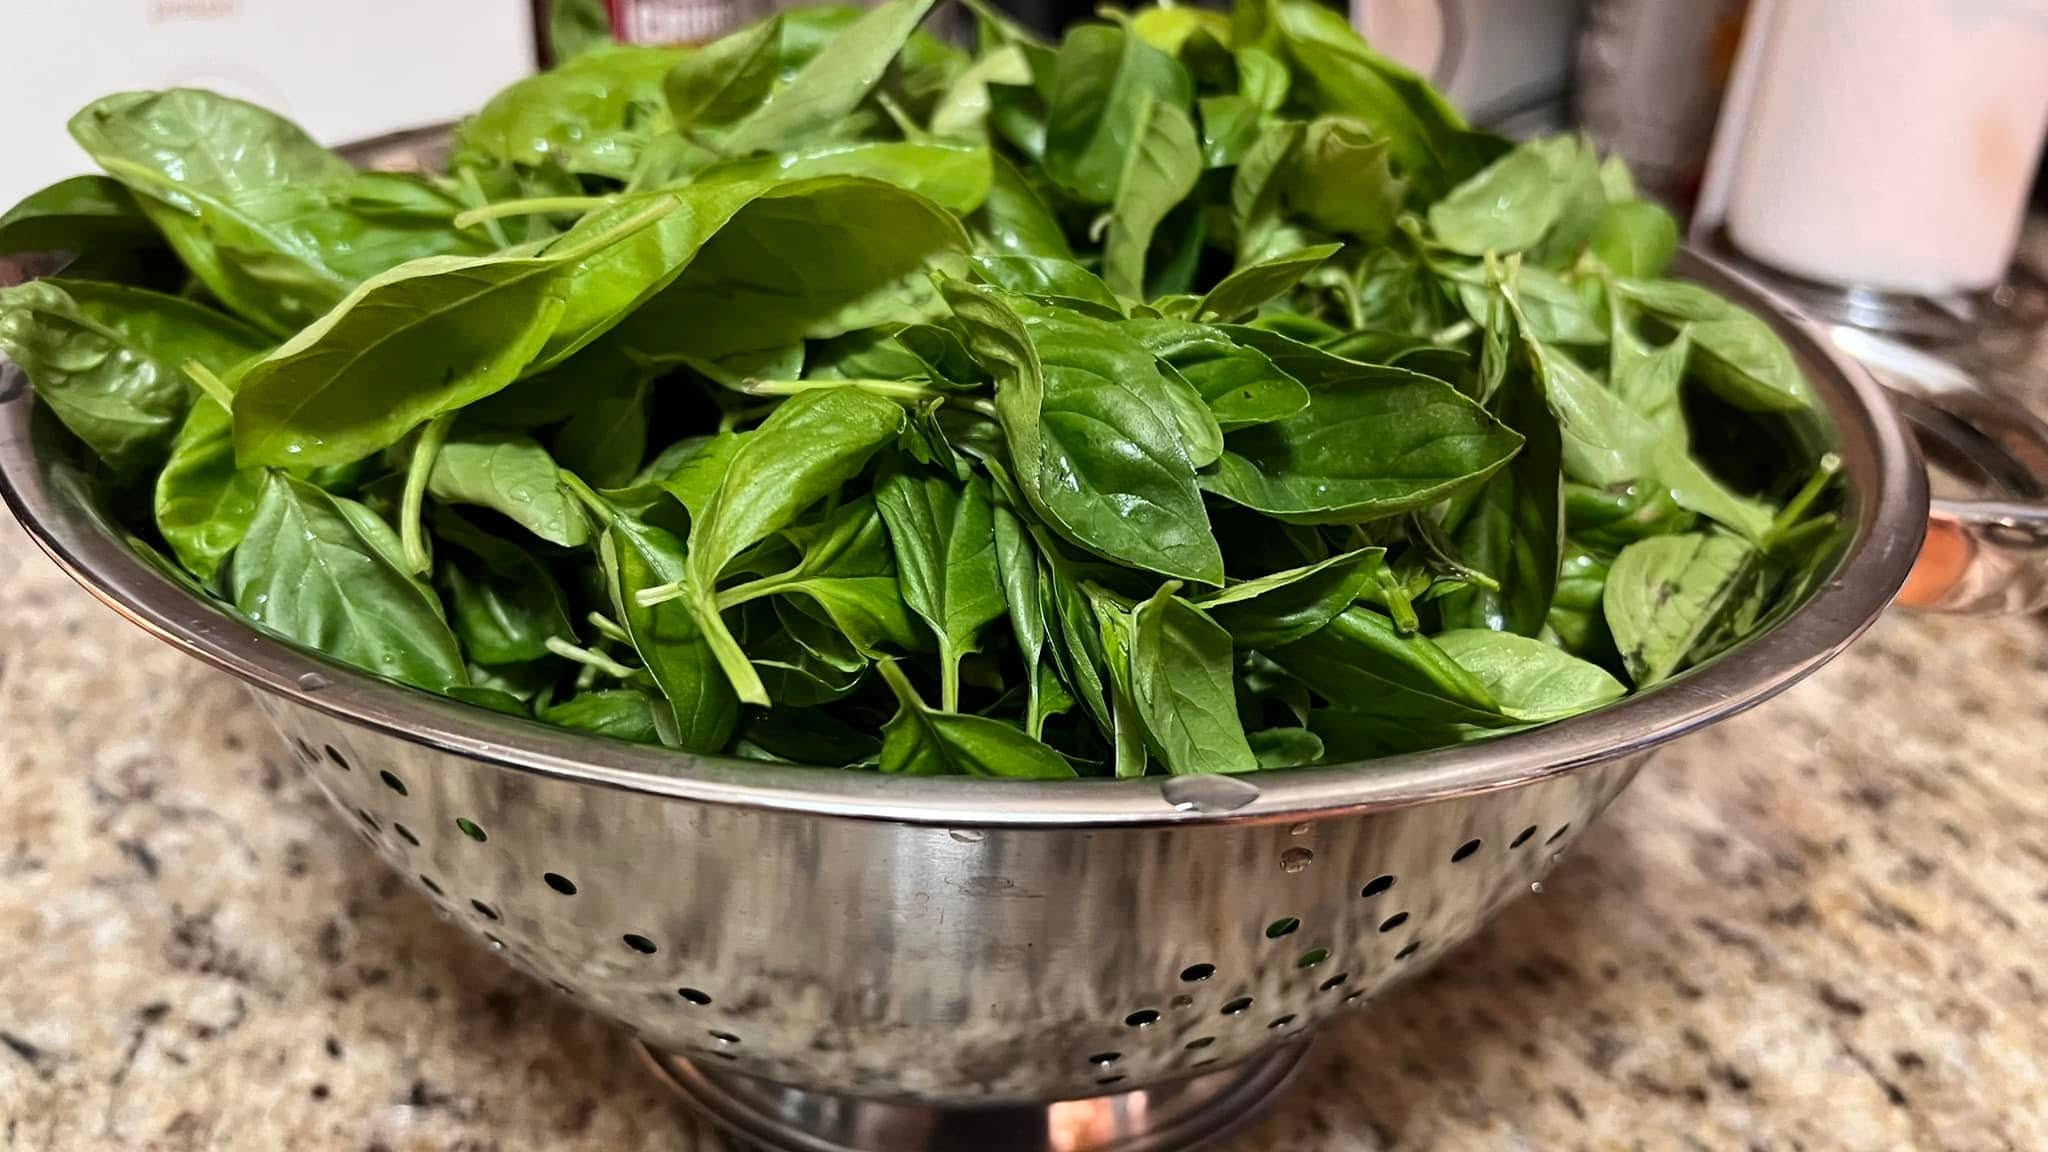
Cut down your basil plants at the base, then cut them into managable branches. Pick off all the leaves, and wash them well.
-
Process the leaves
Working in batches, add the leaves to a food processor with a little salt (optional), a few cloves of garlic (optional), and olive oil. Purée the mixture and spoon it into silicone molds. After freezing for a day, I pop the cubes out and store them in a freezer bag. Makes about 14-18 cubes.
Note
TIPS
Buy a small container of basil from the grocery aisle in the spring and chop it up at home. Six stems usually yield 10–12 plants pretty quickly, which is far more cost-effective than buying individual plants at the garden center.
If you plant it into containers, close to each other, then tend to stay smaller but still yield enough for preserving for the winter. If you plant them in your garden, 3-4 plants can grow rather large.
Always pinch the top where flowers are starting to grow, never let it to go to flowering because it ages the plant very fast. Pinching the flowers keep the plant young and the stems less woody.
Plant it in a sunny location and keep it watered well.
Don't let the plant freeze. It may survive a light freeze of 32F but leaves will start to yellow and fall.